Steps to Preparing Your Garden for the Winter
These steps will help you lay your garden to rest for the colder season and also ensure it is ready to plant by spring. If you aren’t ready to stop gardening just yet, read our series about Techniques for Extending the Growing Season for pointers on how to get the most out of your garden in late fall and winter, as well as how to jumpstart your spring garden.
- Remove dead vegetation and gather dead leaves. You’ll want to gather up all the dead vegetation from your garden beds and around the garden. Anything healthy can be put into your compost pile if you have one, but if the plants show any signs of disease or infection (or if they have died from frost) you should throw them away. Dead leaves can be used as a mulch for your garden, or added to your compost to provide brown materials.
- Apply compost and/or cover crops. If you want to add nutrients to your soil over the winter (which is recommended), you can either plant cover crops or apply a layer of compost to your garden beds. This guide can walk you through the basics of winter cover cropping.
- Apply a light layer of mulch. Mulching your perennials and garden beds will help smother weeds that may start to grow in spring, and prevent soil temperature changes for growing plants, helping them stay dormant (perennials or winter-friendly vegetables). Information on winter mulching can be found here and here.
- Do soil tests. Testing your soil can help you understand what soil amendments need to be made before the spring comes around. A layer of compost should help no matter what, but a soil test can show you if there are any glaring deficiencies of key nutrients. Here is a guide on what organic amendments you can use to improve your soil nutrient content without using synthetic fertilizer, which can harm your soil in the long run.
- Plant garlic, onions and shallots for harvest next season, or late fall/winter crops. Depending on your region’s climate, there are many hardy plants you can grow over the winter. Besides alliums like garlic and onions, which will be ready for you to harvest the next summer, you can plant root vegetables and even cold-hardy greens and brassicas, depending on your regional climate. For a longer list of winter crops, read this article. Make sure to check out your region’s climate and hardiness zone here for a more localized look at what you can grow.
- Clean your garden tools. After a year of hard work in the garden, your tools will be ready to be cleaned and sharpened. This keeps them from rusting or breaking. This guide takes you through each step. Be aware that if you use linseed oil to polish your wood handles, make sure to store the rag you’ve used properly – this article can show you how.
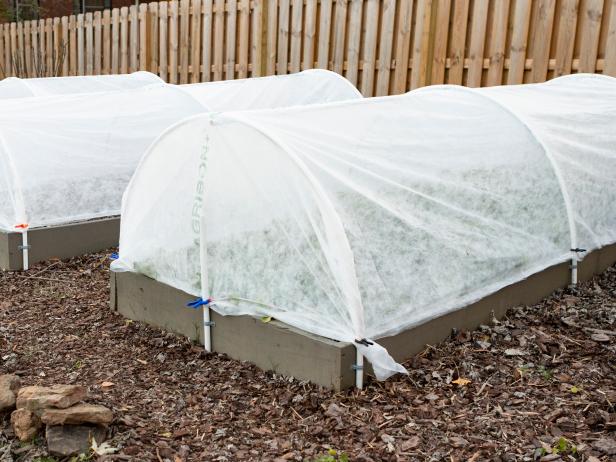
- Put frost-protection measures in place. This guide and this guide give some good information on the temperatures that cause frost damage to particular crops, as well as suggestions for protecting your garden from frost.

- Clean up. In addition to removing all the dead vegetation from your garden, you will want to put tools and materials back inside. This can help prevent them from cracking or freezing.
- Make notes and plans for the next season. Once you’ve finished getting your winter garden ready, make note of what you planted where and when this last season (if you haven’t done so already, start a garden notebook!). Think about what worked and what didn’t – crops you planted, layout of the garden, lessons you taught, etc. Begin thinking about what changes to your school garden you want to make for the spring. Once the weather warms up, you’ll want to get outside and start gardening as soon as you can! The garden notebook can help you organize your thoughts.
